Deadlock to Deadlatch: Adams Rite + HES Electric Strike with Brivo Access Control
How to Convert a Deadlock to an Adams Rite Deadlatch for a HES (ASSA ABLOY) Electric Strike with Brivo Access Control
In this tutorial, we walk through converting a storefront-style deadlock (deadbolt) to an Adams Rite deadlatch so you can use a HES (ASSA ABLOY) electric strike driven by a Brivo cloud-managed access control system. This retrofit enables credential-based entry (cards, fobs, mobile) while preserving free mechanical egress and improving serviceability for commercial doors.
Why convert a deadlock to a deadlatch for access control?
A deadbolt/deadlock secures the door with a solid bolt and is not compatible with most electric strikes. An Adams Rite deadlatch uses a spring-loaded latchbolt with a beveled face that allows the electric strike keeper to release remotely while keeping free egress from the inside. This is the standard approach for storefront aluminum doors when adding access control.
Hardware used (Adams Rite + HES + Brivo)
- Adams Rite deadlatch (e.g., 4510/4900 series, narrow-stile storefront prep)
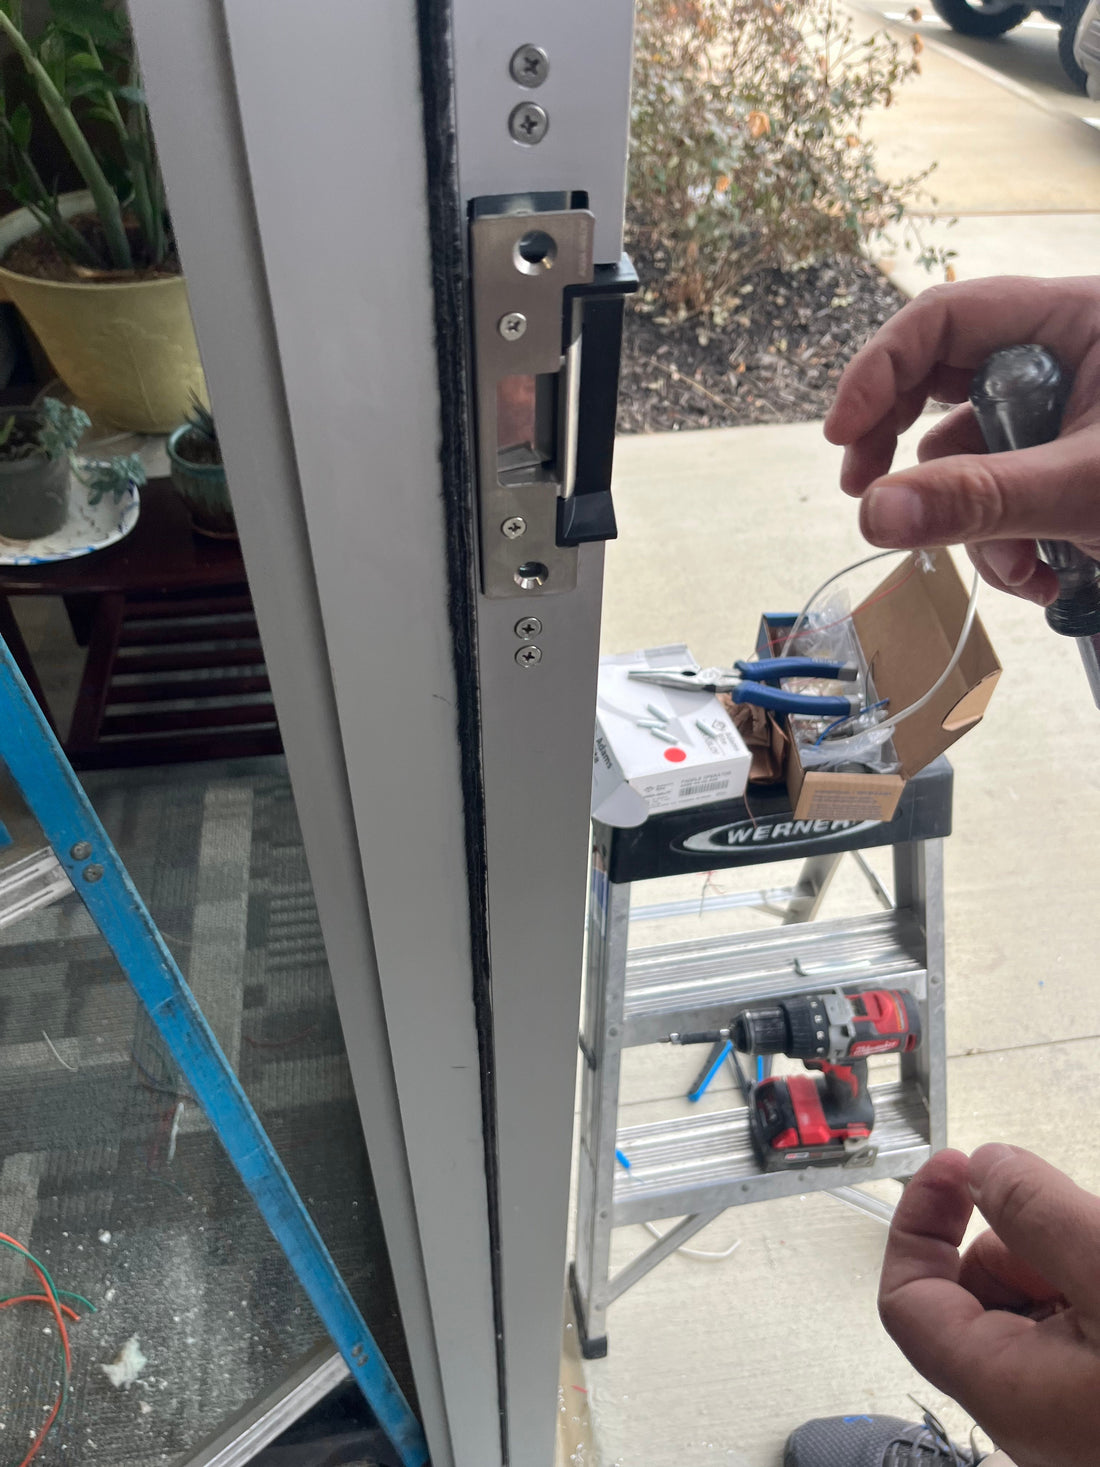
- HES (ASSA ABLOY) electric strike matched to the latch & frame profile (narrow-stile compatible)
- Brivo access control panel/door controller, reader, credentials, and door position/RTE as needed
- 12/24 VDC power supply (strike voltage per spec), proper power isolation if mixing low-voltage loads
- Door position switch (DPS) and request-to-exit (REX) where applicable
Step-by-step: door hardware & wiring
- Assess the opening: confirm narrow-stile prep, hinge alignment, strike pocket depth, and clearances. Photograph the frame cutout.
- Remove the deadlock: take out the existing cylinder/turn piece and the deadbolt case; retain the cylinder if reusing.
- Install the Adams Rite deadlatch: fit and secure the deadlatch case; ensure the latch projects and retracts smoothly with the lever/cylinder.
- Mount the HES electric strike: align the keeper with the deadlatch throw; confirm the door closes freely with zero preload binding.
- Wire the strike: connect to a dedicated 12/24 VDC supply and route control through the Brivo relay (fail-secure/fail-safe as required by the AHJ and life safety).
- Add sensing: install and test the door position switch and, if used, a REX device for request-to-exit logic.
- Program Brivo: enroll credentials, set schedules, door unlock modes, and event reporting; test audit trails.
- Final test & labeling: verify free egress, reader access, strike release timing, relock on close, and document settings for turnover.
Wiring & controller notes (Brivo)
Most HES strikes can be driven via the Brivo controller’s relay output; power the strike from a clean, fused 12/24 VDC source. Use suppression (e.g., flyback diode for DC) if recommended by the manufacturer. Program door-held-open and strike timeouts to prevent latch wear. Coordinate fail-secure vs. fail-safe with the AHJ based on use/egress requirements.
Common pitfalls & pro tips
- Preload binding: storefront weatherstrip or misaligned frames can load the latch—shim or adjust to ensure smooth keeper release.
- Wrong strike selection: match the strike to the latch type and frame material; narrow-stile doors often need specialty profiles.
- Power budget: verify amperage draw at inrush; size the PSU and wire gauge accordingly to avoid voltage drop.
- Egress & code: maintain one-motion free egress; avoid adding any hardware that impedes exit or violates local code requirements.